Category Archives: give
breathe
One of the most awesome things I do every year is devote some focused time to, put simply, reflect on where I’ve been, where I am and where I want to be, both literally and figuratively. I do most of this through both a self-designed personal retreat and a program called the Stratejoy Holiday Council. Once the dust of this reflection settles, one of the many things I emerge with is a theme. It may be a word or a phrase. It may have a whole story that builds up to it or it may have been born out of my time of reflection. It falls into the rhythm of my heartbeat, speaks truth and inspires my goals. For me, the value of my theme for the year (or whatever amount of time it remains) is grand.
All that said, I wanted to share my theme for the present time.
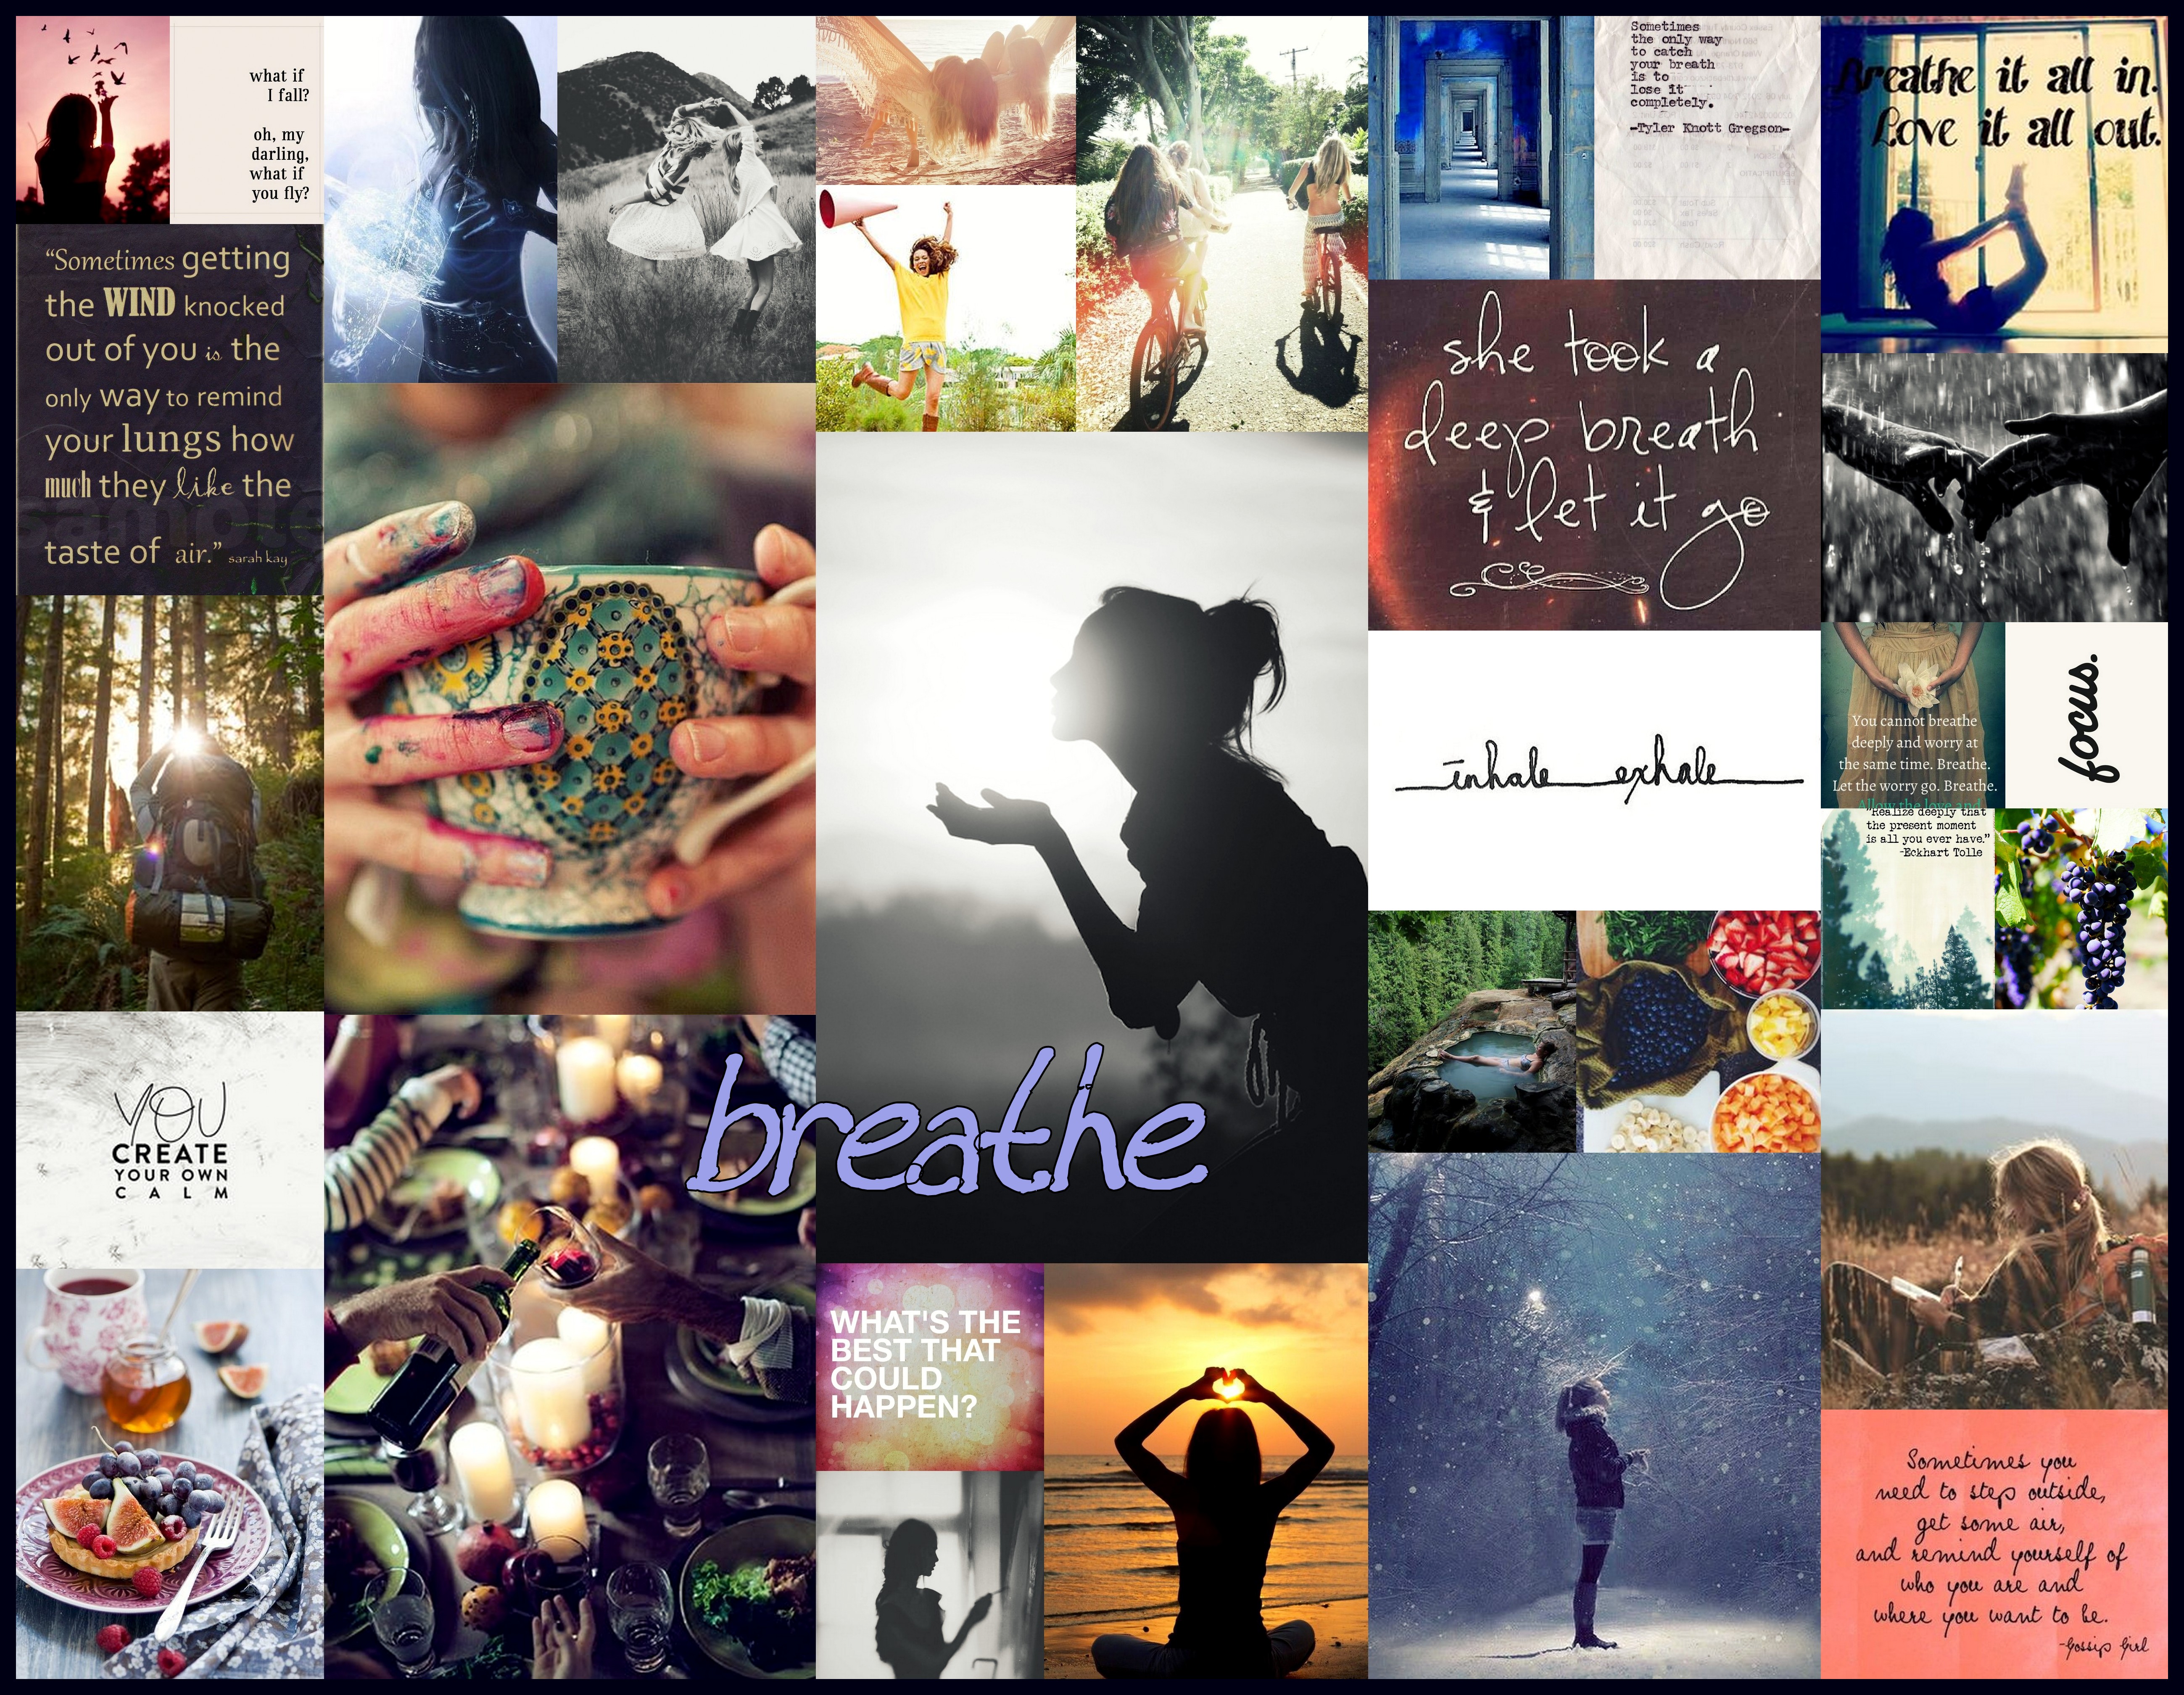
Breathe.
I could write much more to draw out the beauty of how this theme developed and what it means to me, but, instead, I will share the visual representation and encourage this process of listening to your own voice, creating a collage of cravings and moving with more strength and love through YOUR journey. 🙂
tutu fun
 What turned into an explosion of tulle, glitter and tutu fun started quite innocently with a picture of a dancer that inspired me. In response to that inspiration, I decided to make myself a tutu. Normal, right? Once said tutu was created, I thought, “This would be a great project for all the kids I take care of!”, not fully realizing I was secretly on a mission to invade my world (and employers and friends houses) with glitter. That was followed by the creation of several more tutus for my friends and their kids. Dropping surprise tutu packages in the mail for a bunch of little girls is pretty stinking fun. At the end of the day, which I doubt the “tutu project day” has officially ended, I created or helped create 11 tutus. Okay, yeah, touching story I know, but shall we get to how to make the tutus??? Yes.
What’s great about this project is that it is fairly simple and inexpensive and has the potential to infuse joy/expression/fun for quite some time. I had heard that there was a no-sew way to make tutus, so I just googled it and found a video on youtube, which I am also including as a link at the end of the post.
What’s Needed:
fabric (which will probably be mostly tulle)
hairband or ribbon
scissors
 What To Do:
1. First, a trip to the fabric/craft store is in order. I ended up on several trips and buying a variety of colors and types of tulle. I also found some rolls of tulle, which saved some of the cutting.
(I find the thinner tulle to be more clingy and glittery tulle to be very generous in sharing its glitter with anything it touches as random fyi’s)
In addition to tulle, pick up ribbon or stretchy fabric headbands for the waistband if you don’t have those things.
2. Cut fabric into strips. The size of the strips will depend on the size and style of tutu that you want to create, but they should be twice the length desired for the tutu (because they will basically be folded)
The width doesn’t really matter. but I made most of mine about 3 or 4 inches wide.
The easiest way to cut the strips is to cut a large piece of fabric to the correct length, roll it up and then cut into pieces.
3. Attach the fabric to the waistband. This process is absolutely easy enough for a child to do, but might take a few tries to get the hang of.
First, fold a cut strip of the tulle in half.
Then, hold the loop side next to or under the ribbon or hair band.
Finally, pull the ends around the waistband and through the loop to secure.
(check out the link to the video below if that doesn’t make sense) 🙂
Once a strip of fabric has been secured, it can be pulled tight or left loose. It is really a matter of preference. I like them a little loose so that I can still move them around a bit if I want to squeeze a different color in somewhere or simply get more strips onto the tutu.
If a ribbon is being used, I recommend measuring it around the waist and tying knots on both ends where the ribbon meets, leaving plenty of ribbon for making a tie in the back when it is worn. This way, all of the tulle will stay secured within the knots and it will also be easier to tie later.
When using the hairbands, try them on the childs waist first to make sure that it doesn’t feel too tight.
Attach tulle strips to the waistband until you are satisfied with the amount of fabric on the tutu! Have fun with the colors and varieties of fabric.
4. Dance! 🙂
Check out this youtube no-sew tutu tutorial if you need a more visual instruction.
Also, here is a photo from my other blog that I took of one of the kiddos dancing around in their new tutu if you feel like checking it out.
Have fun!
girl rising

Suma from Nepal
Ruksana from India
Azmera from Ethiopia
Sokha from Cambodia
Wadley from Haiti
Yasmin from Egypt
Senna from Peru
Mariama from Sierra Leone
Amina from Afghanistan.
I watched the trailer at least 25 times. And then, I went to see the film so that I could hear and see more of their stories.
The statistics and lives shared on the screen were both troubling and inspiring. These girls faced (and still do in some cases) everything from slavery, loss and abandonment to rape, abuse and arranged marriages, but the spirit that rises from these depths illuminates a hope for positive change. And education fosters that spirit. Though their lives and stories are diverse, they are bound together by the injustices they face and by the reality that educating these girls is changing and will continue to change their lives, their communities and the world.
I could say so much more about the film and the way different writers with connections to the countries took on different stories. Or how beautiful the cinematography was. Or drop the names of the well known who came on board to narrate. I think, though, that my most important response is to ask myself how I can help fight ignorance and fuel positive change. Yes, the film was disturbing and inspiring. Now what? What can I do?
Well, for starters, I can share my thoughts and encourage others to see this film or support this cause. So here I am. To find out more about 10×10 or Girl Rising, how to get involved or where to see the film, visit their websites. Also, check out a preview of the film below:
Another step I have taken is to give financially to this cause, which helps girls education initiatives throughout the world.
In addition to financial support, I was challenged by others and within myself to find ways to support this cause on a local level. Within my own day to day world, I have the opportunity to educate and because of this movement, I will be more proactive about pursuing that. I have also discovered a couple local programs that align with empowering girls and women through education and am getting involved with at least one of them (more details on this as it develops).
I want to share two other organizations that I have been a part of in some way already that align well with supporting girls education and happen to help two of the countries focused on in the film, Peruvian Hearts and The Anyway Foundation.
My passion lies in creating positive change in this world on an individual, local and global level. For me, it anchors in the arts and I want to use my creative voice to fuel this change and give others the opportunity to do the same. This film has inspired me to continue to pursue my passion.
There is a quote from the film that I want to end with here, but I cannot track it down or remember it in detail, but I will find it soon and it will be here. 🙂
photo from the 10×10 media resources page
the closet cleanse
I love clothes and all the accessories that go with, but I have a small closet (think coat closet here). Its a problem. When I first tried to fit all my stuff in my current closet, I would catch myself daydreaming of the walk-in I had in my Chicago studio apartment (it was almost the biggest room!) Back in reality, I scored one of the hall closets all to myself and use it for my dresses, skirts, sweaters and heels, which helps a lot. I employed perfect sized drawers, crates and baskets to help me fit everything else in the closet in my room, but over time I noticed only about half my clothes were in the closet at any given time. I had clothes in the bedroom closet, in the hall closet, all over my floor, in bins and baskets, in the laundry and in the garage. Finally, one day, while trying not to drown in a sea of scarves, I threw out a lifeline to myself…”I have too many clothes! Time to take control.”
And so I began the process of really owning what I own. I feel that being in the right frame of mind to do this is really important. I was ready to simplify my wardrobe. A few months before, I may not have been able to part with things or organize as well.

1. SORT
I started by making three different bins, one for stuff I wanted to keep for sure, one for things I could give up and the very important third bin that I could figure out later. I made myself get rid of at least one of everything…one coat, one sweater, one dress, one t-shirt, etc. ,etc. After going through everything, I bagged up the ‘give’ clothes right away. Then, I focused on the ‘not sure’ collection. I laid everything out and picked out one favorite to go back into ‘keep’. Feeling good. Next, I looked through the pile for things that I would wear if it was ‘improved’. For example, there was a pair of jeans I love but never wear because of a missing button and a light blue puffy vest that I want to wear, but don’t because of the color. A new button and some dye will hopefully fix those problems, so they get set aside in a new pile. From there, I picked my least favorite thing and throw it in the ‘give’ bag. The rest goes through individual decisions and quite a bit goes back to ‘keep’ so that I don’t stress myself out. Then I repeat the process with all my accessories (hats, tights, shoes, scarves, etc…).
2. ORGANIZE
As I looked at the size of the bag of stuff that I would no longer have to fit in my closet, I felt energized and relieved and rode that clothing cleanse high straight into organization.
 I put everything from the ‘keep’ bin in piles…shirts, pants, socks, bags, workout clothing, etc. Then I pulled out all my baskets, crates, hangers and bins and got to work. I love using baskets and small fabric bins for hats, socks and tights and purses. For scarves and belts, I love a multitude of hooks that hang over doors and stay out of the way of everything else. My favorite thing is a fabric bin with a lid, which I store things in, but also use as a chair, a computer stand or to reach the baskets up top in the closet. I was so excited when everything I had kept fit in my closet(s) with a tiny bit of room to breathe. Sigh of relief.
3. DEAL WITH THE FIXERS
Once all my keepers were happily put away, I still had a ‘give’ bag and a ‘fix’ pile to deal with. I looked through the fixers and made a list of things I might need to fix them. I actually got rid of one more thing in doing this. Then I put them all in a box and made a deadline. If I don’t deal with these by the end of the year, I never will and we will then say our goodbyes.
4. GIVE, SELL AND DONATE
One of the best parts of this whole process was finally giving the clothes away. If something I dont need anymore will make somebody else happy, I’m happy. The first thing I did was let some friends go through my pile of stuff. Then I looked through one more time to see if there was anything I might be able to sell and actually picked out a few things. There are lots of ways to sell, such as garage sales or ebay and for me this time around it was a consignment store. I took in seven items, they took four and gave me $19. Deal. That money went to a savings for something special. Finally, I took what was left and donated it. There are lots of options here as well and I like doing a little research because I like to give to a womens shelter or local project if possible. This time around, I was able to donate to a rummage sale to benefit a local outdoor school that one of the kids I watch attends.
5. A FEW EXTRA IDEAS
Don’t forget to do the laundry! This process will be easiest if everything is clean and available to sort.
Do some detailed sorting. I found that I had more trouble getting rid of any skirts and dresses, so I went a little more intense in the sorting. I laid everything out and arranged by color and/or category. There was a gray skirt I had been contemplating that was then easier to get rid of because I saw that I had two other gray skirts. It also became more easy to see that I didn’t need five floral spaghetti strap summer dresses!
 Prepare for the next round. I had seen a great idea on pinterest for hanging clothes and decided to use it. Basically, you hang up all your hangers backwards and then after something is worn, they get turned around. After a year or so, you can see easily if anything wasn’t used. And if you dont wear something over the course of a year, do you really need it!?
Try stuff on. For me, trying things on helped to make the keep or give decision. If something was far too tight, it went away. On the other hand, I found some things that were far cuter than I remembered and made sure they were easy for me to find in the future. Also, I know it is easy to think that something will fit once you lose those 10 pounds, but be careful about hanging on to things that aren’t being used. I kept a few of my favorite ‘tight’ things as a fun reward, but tossed the rest. If you lose enough weight to fit into things you can’t come close to fitting now, I say you deserve a shopping trip for new stuff! 🙂
Make a shopping list. Once I had a fuller grasp of what was in my closet, I made a list of a few things that might help my wardrobe out. For me, this included a colorful cardigan, a versatile black skirt and a neutral lacy top among a couple other things. That way, when I’m shopping I can buy what I need and can build more outfits with instead of dropping money on something I already have!
It took time and made a mess for a little while, but it was worth the clean closet (and mind) in the end and I wish you the happiest of sorting, organizing and giving!
1000
Something awesome is happening on my photo blog, daily perspective, right now. I just posted my 1000th photo a week ago! To celebrate, I am giving away free prints of photos from the blog and you get to choose which one you want!! Find out more on the blog and tell me your favorite before the holiday ends!!! 🙂


